

Foraging Guide: Mulberries
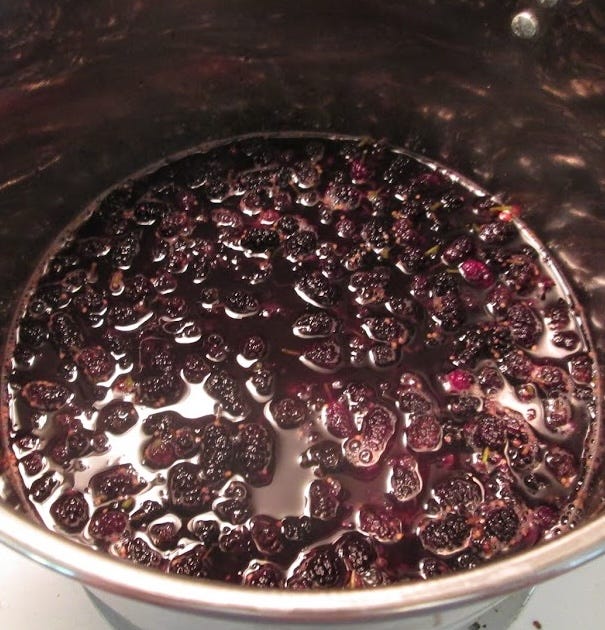
Let this recipe for sweet mulberry jelly lead the way.

Welcome to the start of berry season! As summer starts, strawberries will be reaching their red perfection, gooseberries will ripen, and blackberries will ramp up toward July’s peak production. However, the fruit I’m recommending you seek out in June — the lowly mulberry — takes a little work to get your paws on. There’s no finding these miniature berries in a clamshell package at your local grocer. However, if you’re intrigued by foraging and don’t know where to start, mulberries may be the gateway fruit to your newest hobby.
The U.S. is home to only one native species — the red mulberry (Morus rubra), which flowers in April and May before producing its tiny fruit all summer long. However, mulberries are often overlooked and even considered a nuisance when they rain down on cars and driveways. According to a vintage guide on Missouri trees, it’s really just humans who disregard the value of mulberries:
Since the tree is so small, it has little commercial use. It is very durable, tough, and makes good fence posts. Game species of wildlife and songbirds find it extremely valuable. Turkeys, grouse, squirrels, raccoons, opossums, foxes, and even skunks eat the berries as do scores of songbirds.
Convinced you need to try them out? Great. But more importantly, are you ready to fight some birds for berries? Perfect.

When to hunt: June through August
Spotting mulberry trees this time of year is easy thanks to their distinctive fruit that resemble tiny blackberries, though it helps to look out for their 4” (or larger) oval-ish leaves with sharp points and jagged edges. Check out this guide from Purdue University on identifying mulberries (while it speaks to these trees in Indiana, the reference photos are helpful, and it explains the differences between red and white mulberries, the latter of which is a prolific and edible non-native).
Where to look: Practically everywhere
Mulberry trees are widespread throughout the U.S., planted in parks and found in wooded lowland areas. I’ve even had luck asking around — many people have mulberry trees in their yards and detest how the fruit stains sidewalks and driveways. Taking some of those berries off their hands can work to your benefit.
How to harvest: Shake it like a Polaroid picture
When it comes to harvesting, you’re looking for dark red to purple mulberries. If you’re seeing mostly white or green fruit, you’re a little too early. Ripe mulberries pop off the tree easily, though picking these tiny fruits is tedious. You can make it a little easier by gently shaking the branches to release them onto a sheet or tablecloth below.
Using your mulberry harvest
Mulberries are safe to eat straight from the tree, though my personal favorite is turning them into jelly. As a kid, I definitely turned up my nose in favor of sweet blackberries and other wild fruits, but a backyard mulberry tree changed my opinion about a decade ago. At the time, I was high on the thrill of canning, and these very free fruit were hanging on a huge tree in my backyard. Turns out, the berries I once found too seedy to eat were absolutely divine when squeezed for jelly-making. I’m saying “eat freshly made jelly straight from the pot, skip pouring it in jars” good.
Now that we live in a more urban area, I’ve had less luck finding mulberry trees, but I still look forward to jelly-making. One of my tricks is freezing each small harvest to keep the berries fresh, and defrosting them all when I have enough to work with. When that day arrives, I turn to the same recipe I’ve used for years, courtesy of the National Center for Home Food Preservation (one of the best sources out there for canning, dehydrating, and more):